Automatic Procedures
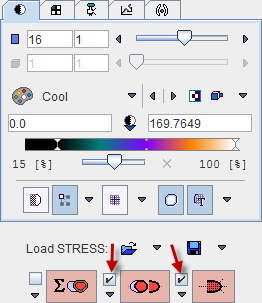
On the Reorientation page there are check boxes for enabling automatic procedures as described below. They are located to the left of the red action buttons:
|
Button to start the cropping/averaging process for calculating the BLOOD (average of some early frames while the tracer arrives in the left and right ventricle) and the MYOCARDIUM images. |
|
Button to start detection of the Short Axis (SA) orientation based on the BLOOD and the MYOCARDIUM images. |
|
Button to start detection of the myocardial centerline or the epi/endo boundaries. This is done by fitting a smooth model of the left ventricle (LV) shape to the MYOCARDIUM image and adjusting locally to the uptake pattern. The results are shown as contour lines in the SA images. |
The recommended setting is enabling the automatic boxes of the SA reorientation and myocardium contouring. In this way the procedures will run, whenever the time averaging definition is changed.
Cropping and Time Averaging
Depending on the field-of-view of the scanner and the reconstruction settings, the heart may only cover a small fraction of the image volume. In order to ease processing it is recommended using a cropping procedure for restricting the image volume to the heart. Ideally, cardiac PET images should already be reconstructed with limited field-of-view centered at the heart, and with pixel sizes in the order of 2 mm.
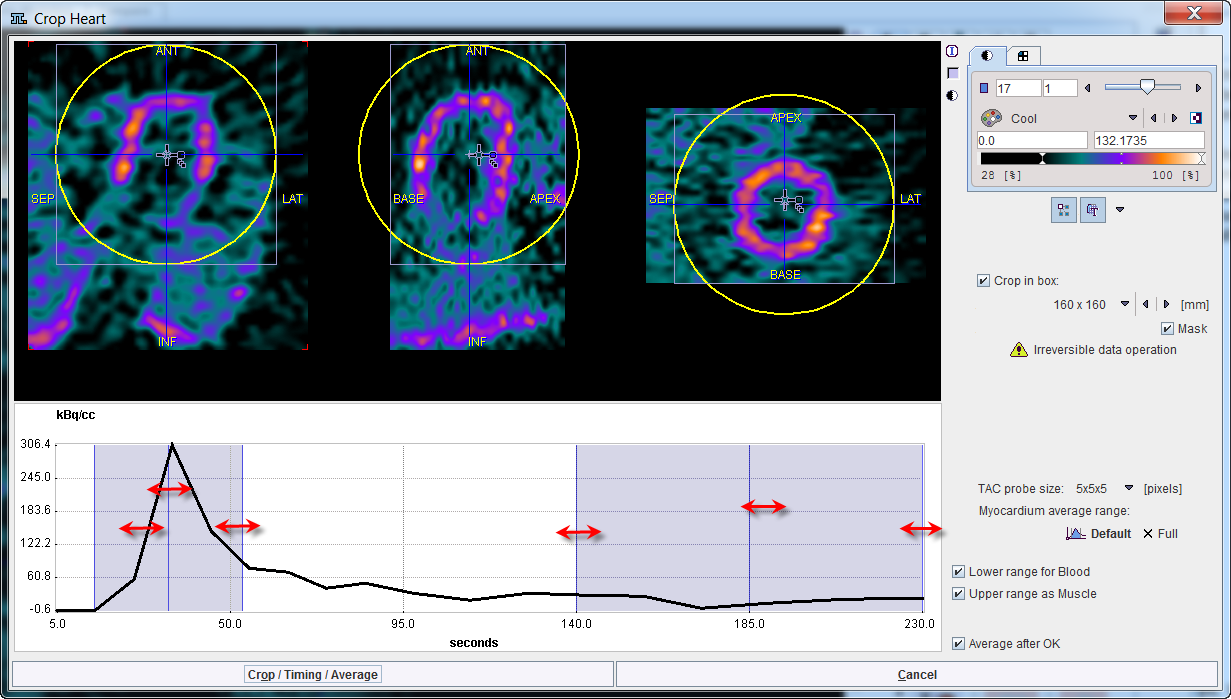
The purpose of averaging the early (BLOOD) and the late frames (MYOCARDIUM) is to obtain images with optimal anatomical information to be used for the SA reorientation and myocardium detection. Their quality has a direct impact on the automatic procedures, and manual adjustments are also easier with clear images. There are various reasons why the images calculated with the default averaging settings may not be optimal:
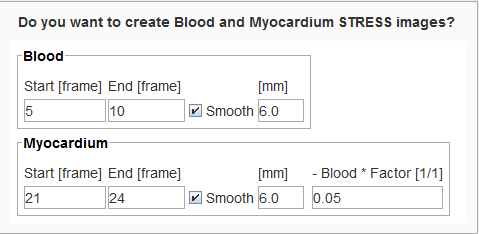
The following procedure is recommended to generate optimal BLOOD and MYOCARDIUM images:
 for the averaging process. A dialog window appears which allows to interactively specify a cropping window as well as the averaging ranges. The upper part of the window shows the average images. If the Crop in box check is enabled, a cropping volume is also indicated by yellow sphere. The center of this sphere can be placed by clicking into any image plane. Its size can be changed with the list selection. Before proceeding the sphere should be placed such that the whole heart is included in the box as well as enough margin is allowed for the SA reorientation. If the Mask checkbox is enabled the pixel outside the sphere will be set to NaN.
Arrangement of the Result Images
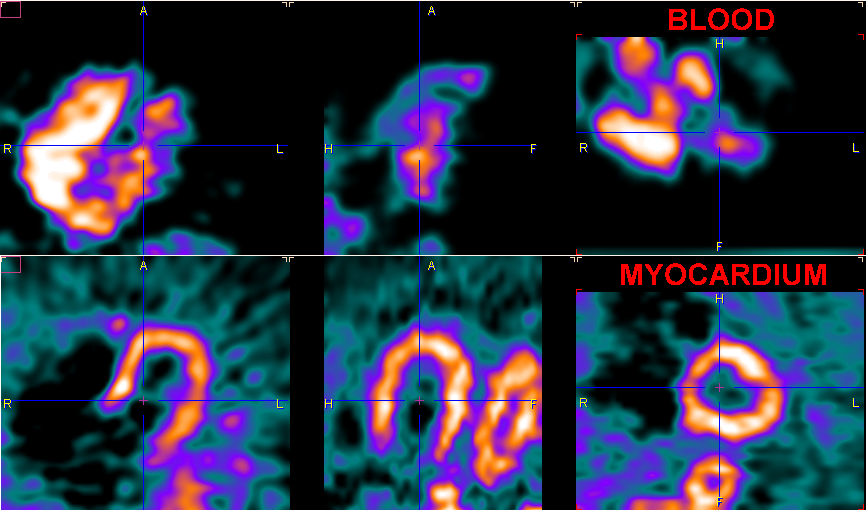
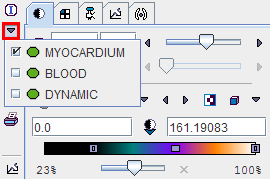
Every time the time-averaging is performed, two new image studies - BLOOD and MYOCARDIUM - are calculated, and the display is switched to MYOCARDIUM. The user can switch between the original study and the averaging results by the study selection as illustrated below.
The clearer the anatomy in the images is, the better will the automatic procedures work, and the easier will the analysis be. However, typically images of the following quality can be obtained. Due to the increasing dispersion of the bolus it is often difficult get a well delineated LV blood pool.
