Marker Guidance
The automatic myocardium detection can be difficult, especially if the image quality is poor, if there are area of reduced uptake, or if there is no clear separation between myocardium and liver. To make the automatic outlining more robust, the user can specify markers in the myocardium.
Marker Interpretation
The program will interpret the markers as follows:
- If only 3 markers are placed they are considered to define the bounding box of the left ventricle.
- With more markers the algorithm works on a SA-slice basis. Whenever it finds more than 2 makers in a slice, it will fit in a first stage a circle to the markers, and in a second stage the circle to the intensity. In a third stage the information is propagated to slices without markers and used to fit the maximal intensity. Finally, the found contours are smoothed in all directions.
Placement of Markers
The following procedure is recommended for the actual placement of the markers.
- Navigate the images by clicking into the LV center until the LV extremes are visible.
- Select the
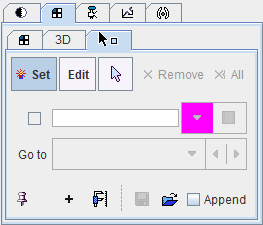
 button. The tabs in the image controls area are switched to the Markers tab.

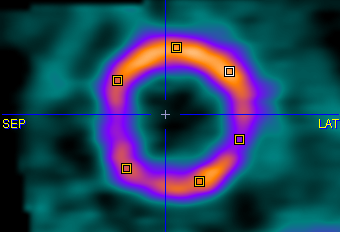
- Use the mouse wheel over SA images to locate the first slice showing myocardium uptake as a full circle. Place 4-6 markers by clicking into the center of myocardial wall.

Note that a marker is placed whenever clicking into the image as long as the Set toggle button in the Markers tab is on. Activate the arrow button to go to the plain triangulation mode. Alternatively, the Ctrl+Shift keyboard keys can be hold to avoid marker setting - Repeat this marker placement in some other slices down to the apex, particularly at mid-cavity and in the apical, narrowing part.

- Finally select the contouring button
 to restart the automatic contour detection algorithm.

- If the outlining result is not satisfactory, just add new marker points and repeat, or enter the procedure for manually editing of the VOIs.
 button. The tabs in the image controls area are switched to the Markers tab.


